
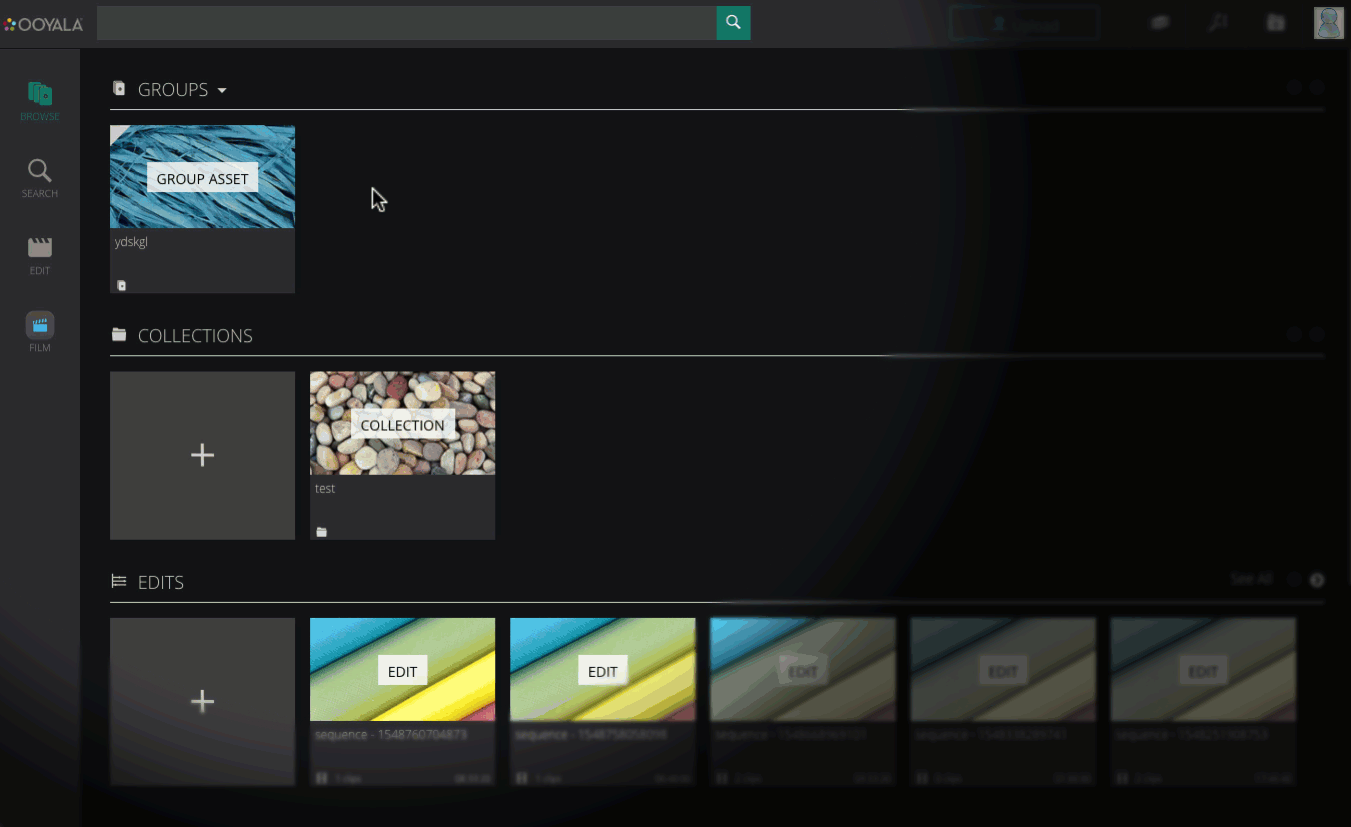
LEGACY Media Assets (Deprecated)
Media Assets
Each media asset in MAM is represented by a tile. On each media asset tile, you will see the poster keyframe for the asset, the title, the file format, and the duration.

To access your media assets, click the filter drop down menu, and select Media from the list.
You can scroll back and forth through your existing media assets in the Media Assets carousel by clicking the back and forward arrows ![]() at the top right corner.
at the top right corner.
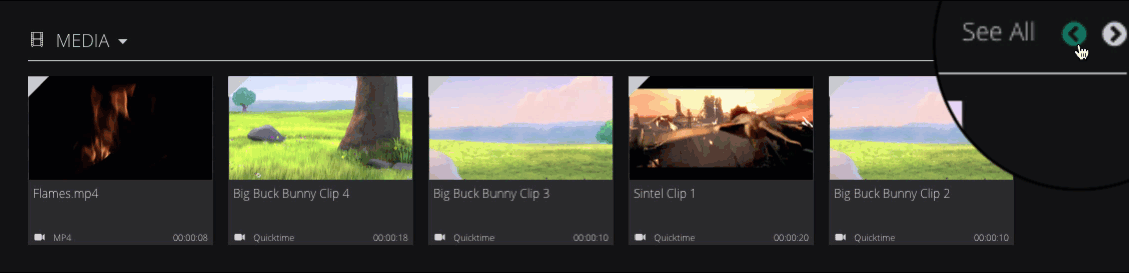
If you wish to view all of the media assets that you have uploaded to MAM, click the See All link in the top-right corner of the Media Assets carousel. You are then taken to the Browse: All Media Assets section, where you can see a complete list of all your assets, ranging from newest to oldest.
Media Assets Summary Panel
If you click on an asset tile, a summary panel will appear on the right-hand side of the screen.
In the Asset Summary panel you will see:
- A preview player: This lets you play the asset directly in the panel. You can play/pause the asset, skip back and forth between frames, change the volume, and play the asset in full screen view. The player is always visible in the Asset Summary panel, no matter what tab you are on.

- The Details tab: Displays specific details of that selected asset such as the title, description, creation date, the asset type, and whether or not the asset has been published. You can also view tags that have been applied to this asset, as well as add new ones.

- The Timelines tab: Here you can post general and time-coded comments and markers against the asset.

- The Keyframes tab: The Keyframes tab enables you to extract keyframes from the asset, as well as upload an image from your computer. You can then select which keyframe will act as the poster keyframe.

- Manage Asset option: This option is located at the bottom of the panel. By clicking this option you can view more in depth details about the asset, as well as edit various asset details.
Details Tab
You can view and change the summary details for an asset directly in the Details tab.
To edit summary details:
- Simply click on the field value you wish to change.

- Enter the new details.

- Click the Tick icon to save your changes.

You will also see a Published field which gives you the option to publish your media asset with one click. For more detail about the one click publish action, please refer to the Actions section of this guide.

Comments Tab
You can either post a comment against the entire media asset, or post against a specific time range within a media asset.
Commenting on an Entire Media Asset
- In the Inserta comment box, enter your comment, and click the + icon.

- Your comment is then posted below.

Posting a Comment Against a Range
You can post comments against a range by specifying an in and out point.
- Play the media asset.

- When you reach the point in the video in which you want to set an in point, click the Set In icon.

- The in point is then created as represented by the orange line. By default, the out point is the end of the timeline.

- When you reach the point in the video where you wish to place an out point, click the Set Out icon. The range between the in and out points is indicated by the orange line.

- In the Comment box, enter your comment. Click the + icon, and the comment will be made against the range you have specified. When you click on that specific comment, the player will jump straight to the in point that you specified.
You can see time codes for both the in and out points you have specified below the player. By selecting either the In or Out points, the video will skip to those points in the video.

Note: To reset the both the in and out points, click the Reset I/O icon.

Filtering Comments
You can filter the existing comments using filters. There are two options:
- Filter to display comments by selected Users only
- Sort by Date, Start Time, and End Time
Editing an Existing Comment Made Against a Range of Frames
You can change the range of frames (in and out points) associated with an existing comment in MAM.
- Click on an asset tile.

- In the asset summary panel, click Manage Asset.

- Click the Timelines
 tab.
tab. - Select an existing comment from the list.

- Click the
 icon next to the comment.
 - On the timeline, adjust the in and out points. You can do this in three different ways:
-Dragging the in and out points.
-Clicking the + and - icons.
-Clicking the Set In and Set Out icons.
Note: You can also use the shortcut keys to change the in and out points:
- i = in
- o = out - When you have finished, click
 to save the changes.
Keyframes Tab
Under the Keyframes tab, you are presented with a list of available keyframes for the selected media asset. From here you can set a poster keyframe which will be used in the player to act as a visual representation of the media asset in browse and search.
There are two ways to set a keyframe:
- Extracting a keyframe from the asset (including automatically as part of a workflow)
- Uploading an image
Extracting a Keyframe
- Play the asset, and when you have reached the desired frame in the video, click the Extract Keyframe icon.

- The keyframe will appear in the list below the player. Select, the keyframe from list to load it in the central frame.

- To set the extracted Keyframe as the poster Keyframe, click on it, and select the Set Master Keyframe checkbox.

Uploading a keyframe
- Click the Upload Keyframe icon.

- Drag your image file into the Upload Keyframe for box.

- Enter a name and description for your new keyframe.

- To set it as a poster keyframe, select the Master Keyframe checkbox.

- When you have finished specifying the details for your new keyframe, click the Upload button.

- Now, when you view your asset, you will see the poster keyframe on the asset tile.

Manage Asset View
To access the manage asset view, click the Manage Asset option at the bottom of the Asset Summary panel, or double click the asset tile in the browse/search windows.

The first thing you will see in the Manage Asset view is the player. You can play/pause the selected asset and skip to the previous/next frame using the player controls. You can also set in and out points, and then comment on the range you have selected. If you have been viewing the video in the preview, and you switch to the Manage Asset view, the video continues to play from where you left off on the Summary panel.

In the Manage Asset view, five tabs are also displayed vertically on the right-hand side of the page.
These tabs are as follows:
The Asset Overview tab
Here, you can view the basic details and relationships for that asset, change the details, and apply tags. The status of the media asset is also displayed.
A media asset can be in the following states:
- Approved
- Locked
- Exists
- Archived
- Deleted
- Purged
- Published
The following example shows a published asset:

You can see what children the asset has, and download these children from this page.
To download children, you must have the necessary access permissions.
Metadata tab
Here, you can view the metadata associated with the asset, as well as edit the information in the metadata fields.
To change the information in these fields, simply select edit, make your change, and save it.

Technical Metadata tab
Here, you can view the technical metadata for the asset. Technical metadata includes file, format, video stream, and audio stream details. These details cannot be altered.

Timelines tab
Here, you can post new comments and markers against an asset.

Keyframes tab
Here, you can extract keyframes from the asset, as well as upload keyframes straight from your computer. Refer to the side panel for specific functionality.
Subtitles
You can view multiple subtitles / closed captions for the assets you have uploaded.
Displaying Subtitles
- In the Manage Asset view, click
 located below the player.
 - From the menu, select the language you wish to view.

You can only view one subtitle / closed caption at a time. - Play the asset and the subtitles appear on top of the video.

You can also view subtitles in the media asset panel.

Comments
0 comments
Please sign in to leave a comment.